Editing your App Templates might be the most common editing adventure you’ll go on as you learn more about what information you want to collect when you begin your Study.
To make changes to your App Template,
1. Click on the desired Study Tile from your ‘My Studies’ page. This will bring you to the Info Page:
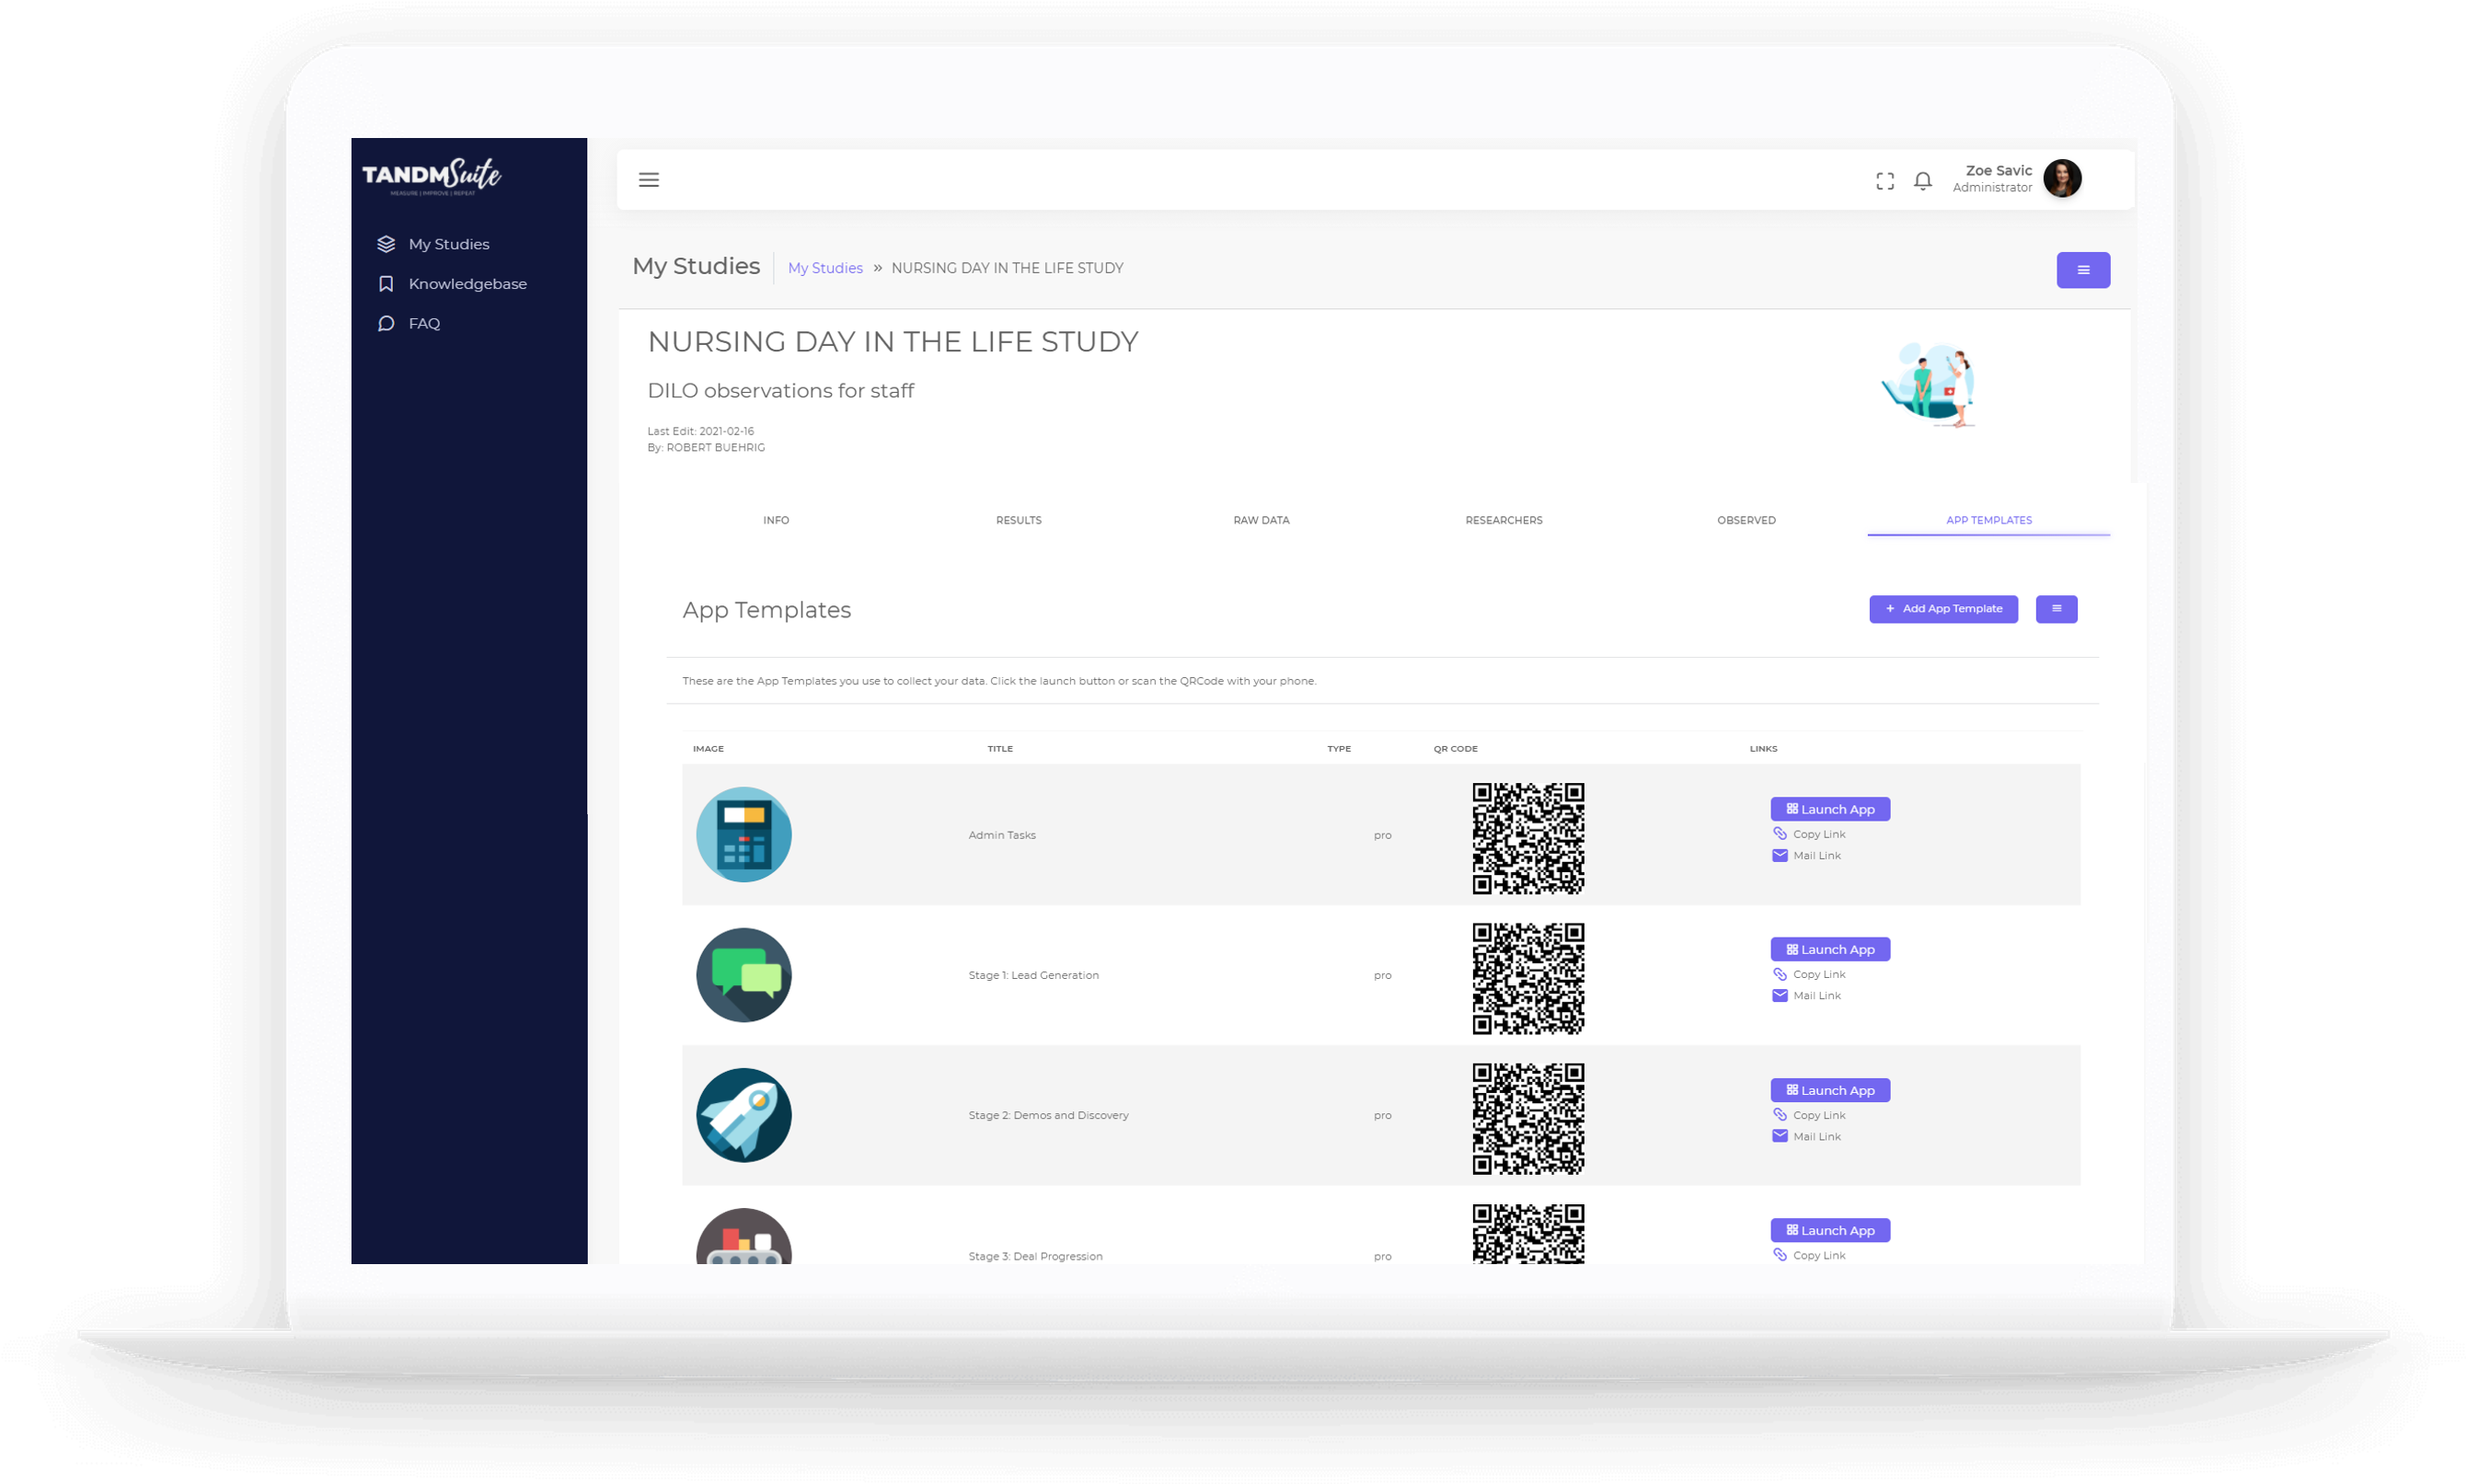
2. Navigate to the “App Templates” tab
3. Click on the image that corresponds with the Template you wish to make changes to (You may have more than one Template, in which case they will all be listed here)
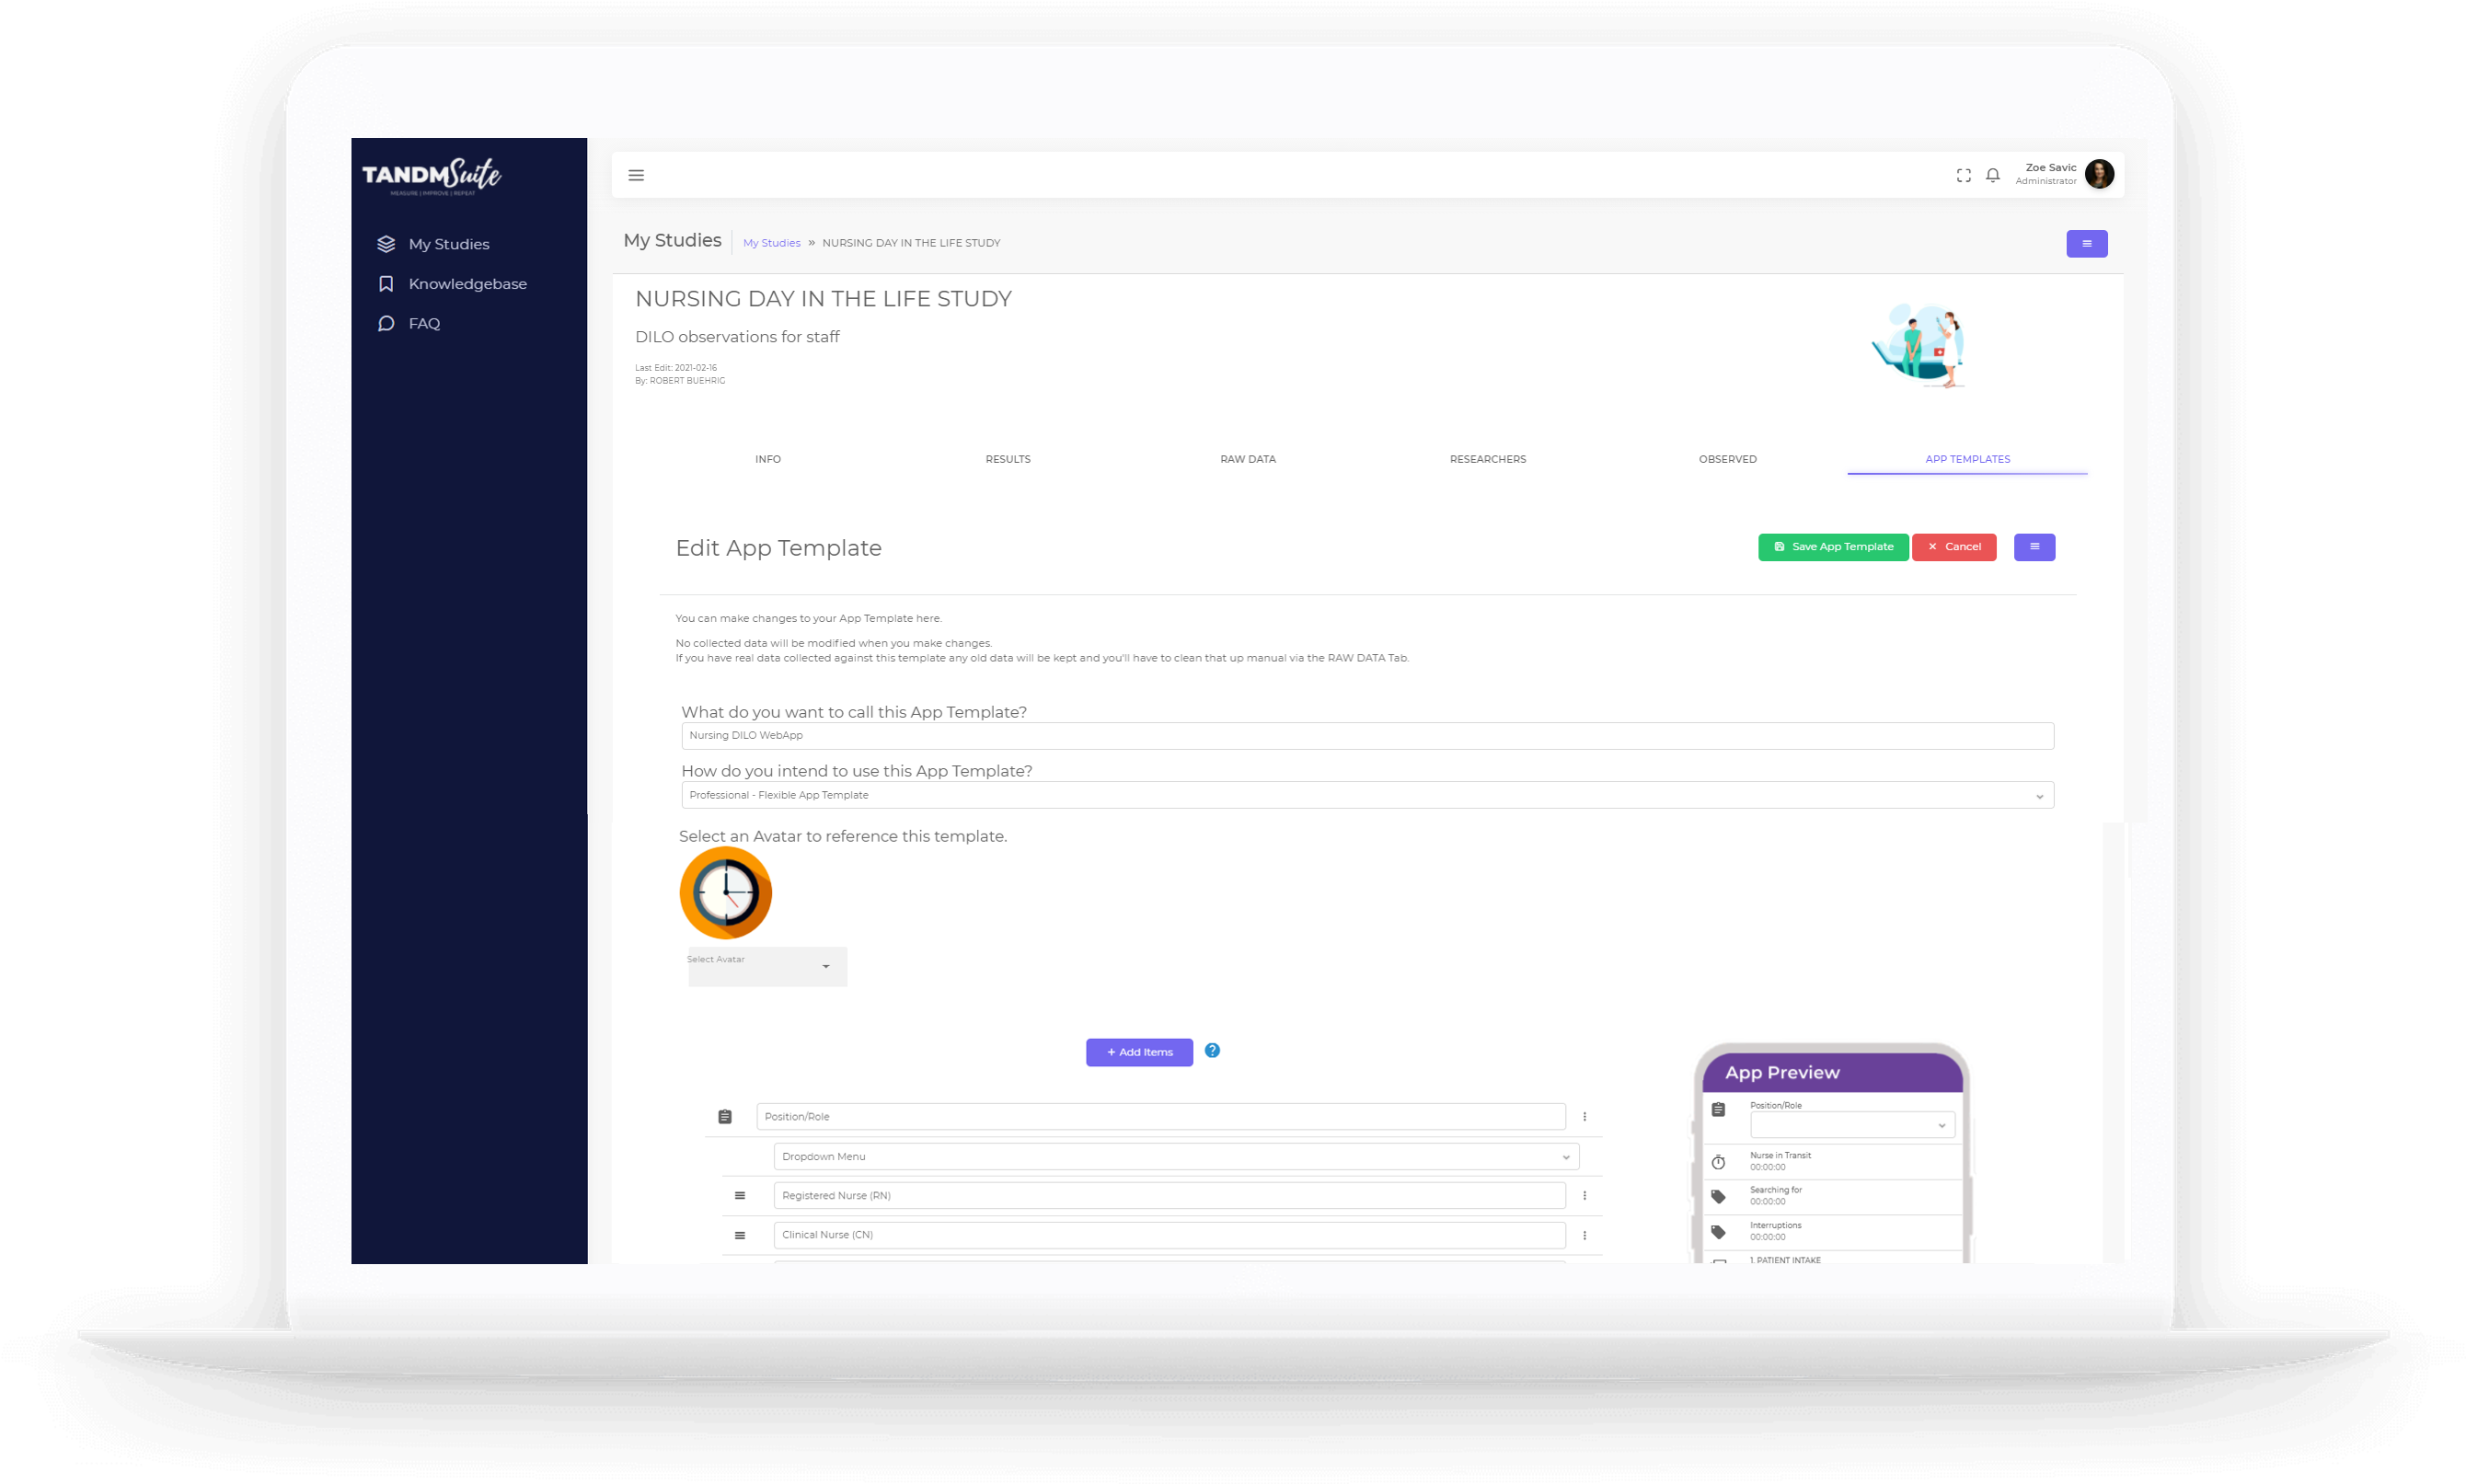
Here you can change the title, how you want participants to use the template and the image you want to use to represent this Template
Below that is your actual app. This will look the same as when you originally built your Template.
You will see the list of all the Timers / Survey questions that currently exist in your Template, as well as the App Preview.
From here you can:
a – Add new items by clicking on purple button
b – Drag and Drop existing items to change the order in which they appear
c – Edit the wording in existing items
d – Clear template if you wish to start again from scratch.
Clicking this red button will wipe all your existing set up, so do be careful.


Once you’ve finished making your changes, simply click on the green “Save App Template” (located at both top and bottom of the screens for convenience!)
If you don’t wish to save changes, you can click on the red “Cancel” button.
Once complete, you will be returned to the main ‘App Template’ page.
– See Creating Studies to learn more about types of timers and survey questions you can add to your Template
