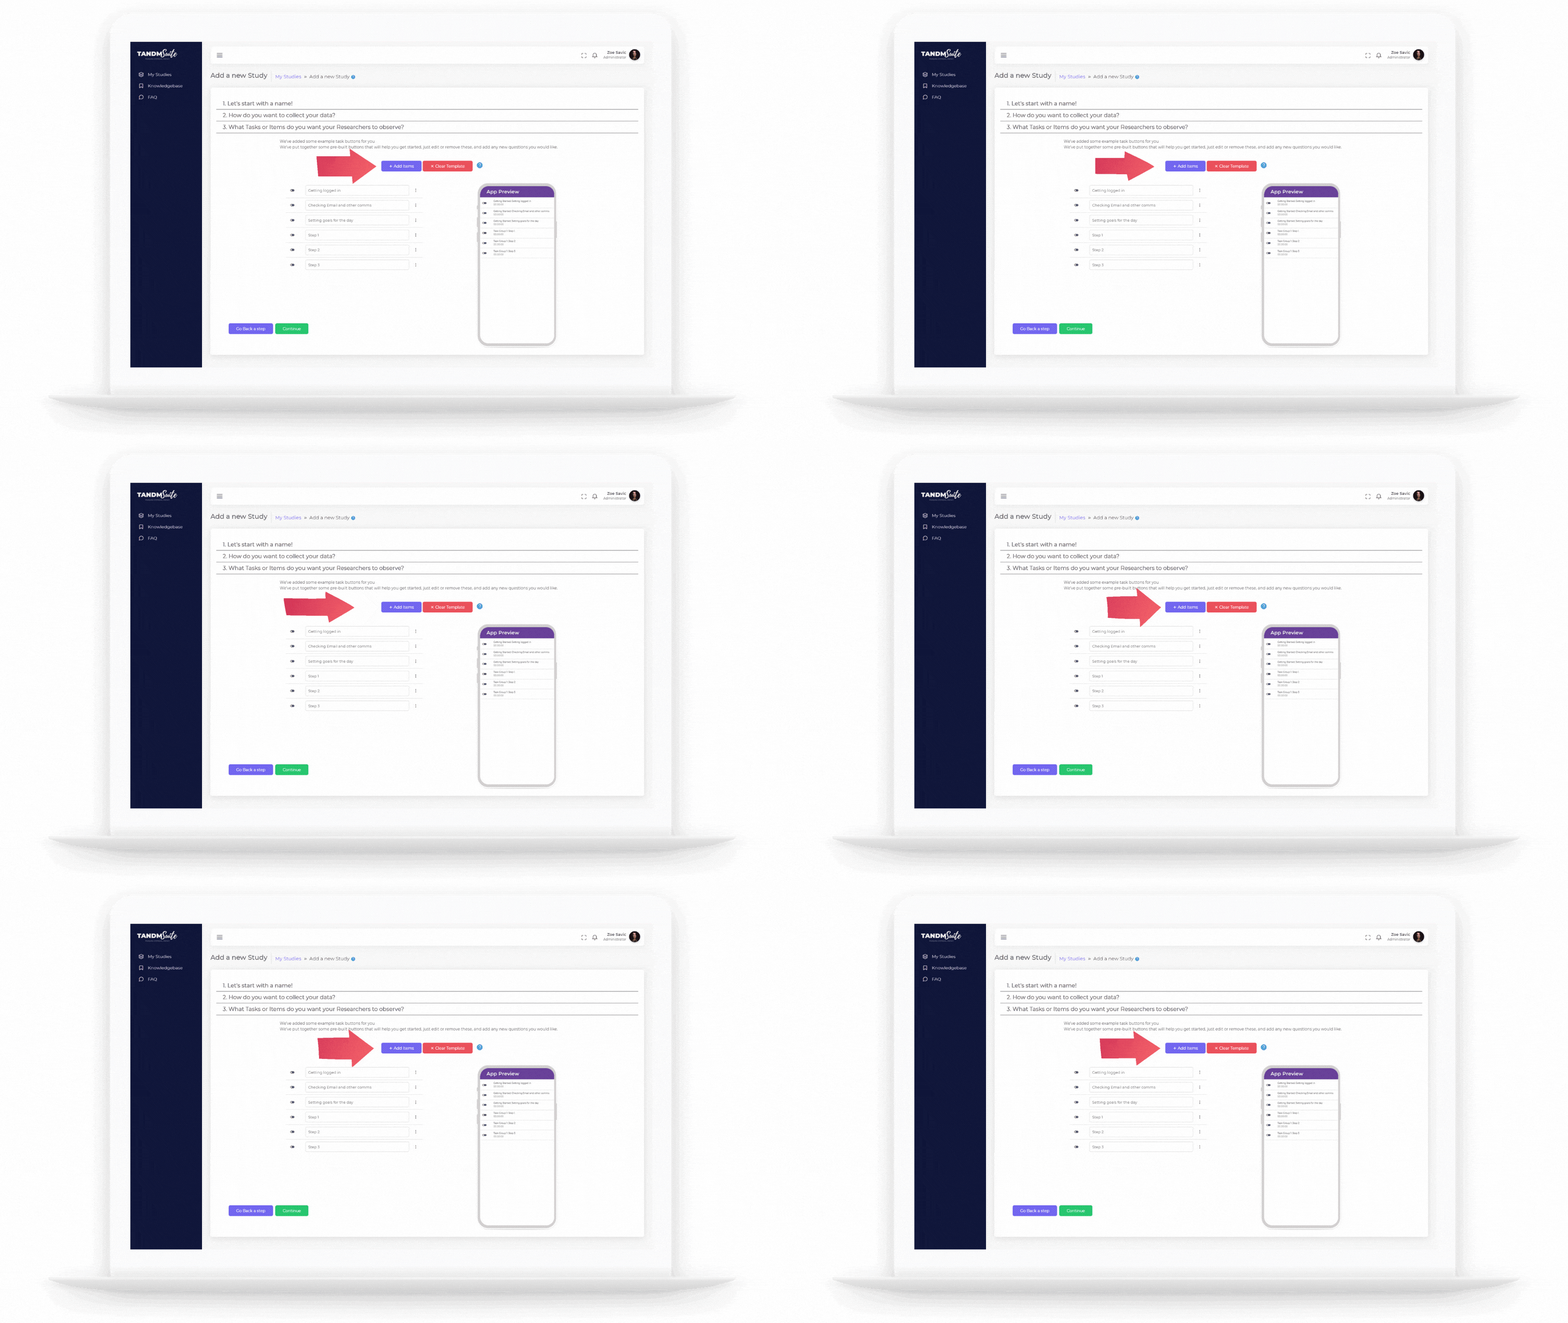
Now its time to build your App Template! What do you want to learn?
There are two types of App Template items – Survey or Time and Motion. These are what will create the “buttons” on your App.
You’ll find some example items already there. You can either amend the items on show, or click the red “Clear Template” button to start from scratch. Don’t worry though, you can find both types of items by clicking on the purple “Add Items” button:

SURVEY ITEMS:
Free Text
Allows the participant to leave their own words as an answer
Radio Button
When only one answer can be selected by the participant
Dropdown
Presenting answers to a question listed in a dropdown box from which only one answer can be selected
Checkbox
Allows for multiple answers to be selected for a single question
Switch
Also allows for multiple answers to be selected, just in a different format.
TIME AND MOTION ITEMS:
Counter
To count the occurrence or quantity of something
Timer
Recording a period of time for a task / event
Fixed Time Amount
Add increments of time every time you click this button
Grouped Timer
Recording a period of time for a series of tasks / events that only occur one at a time. Great for tasks that require events to occur in a particular order
Note / Comment Timer
Allowing the Researcher to collect timings as well as type descriptions / comments of what is being timed
Retro Tag
Collects the time for an entire period, after which the Researcher can select the tasks / events that occurred within that period. Great for times when the Researcher won’t know what occurred until after the period of time is complete.
Popup
A collection of tasks that data can be collected on via a Counter, General Timer and/or a Note / Comment Timer. It gives you the option to record events associated to that task individually or include an overall timer as well.
Pass / Fail Task
Collects the time for an entire period, after which the Researcher can assess whether the task was a success or not. Great for auditing purposes.
2. Click on the purple “Add Items” button for more fields.
3. The preview to the right hand side will give you an insight into how your Template will look when in use. You can even click on the items to see how they react!
4. Not happy with the order of the Items? Simply click anywhere in the item’s space and drag it to the position you desire. Don’t forget to use the preview to see how it will look.
5. The ellipsis menu (three dots) gives you options to copy, delete and add more answers (in the case of a survey question). You can also add additional properties such as location and monetary values. (Check out the next section)
