Sometimes you already know who you’ll be observing.
We talking about flexibility a lot, but its so important! While your Researchers will have the opportunity to manually enter the name or appropriate identifer for an Observed via the App, you also have the option to enter this info before the Study begins if you have it at hand.

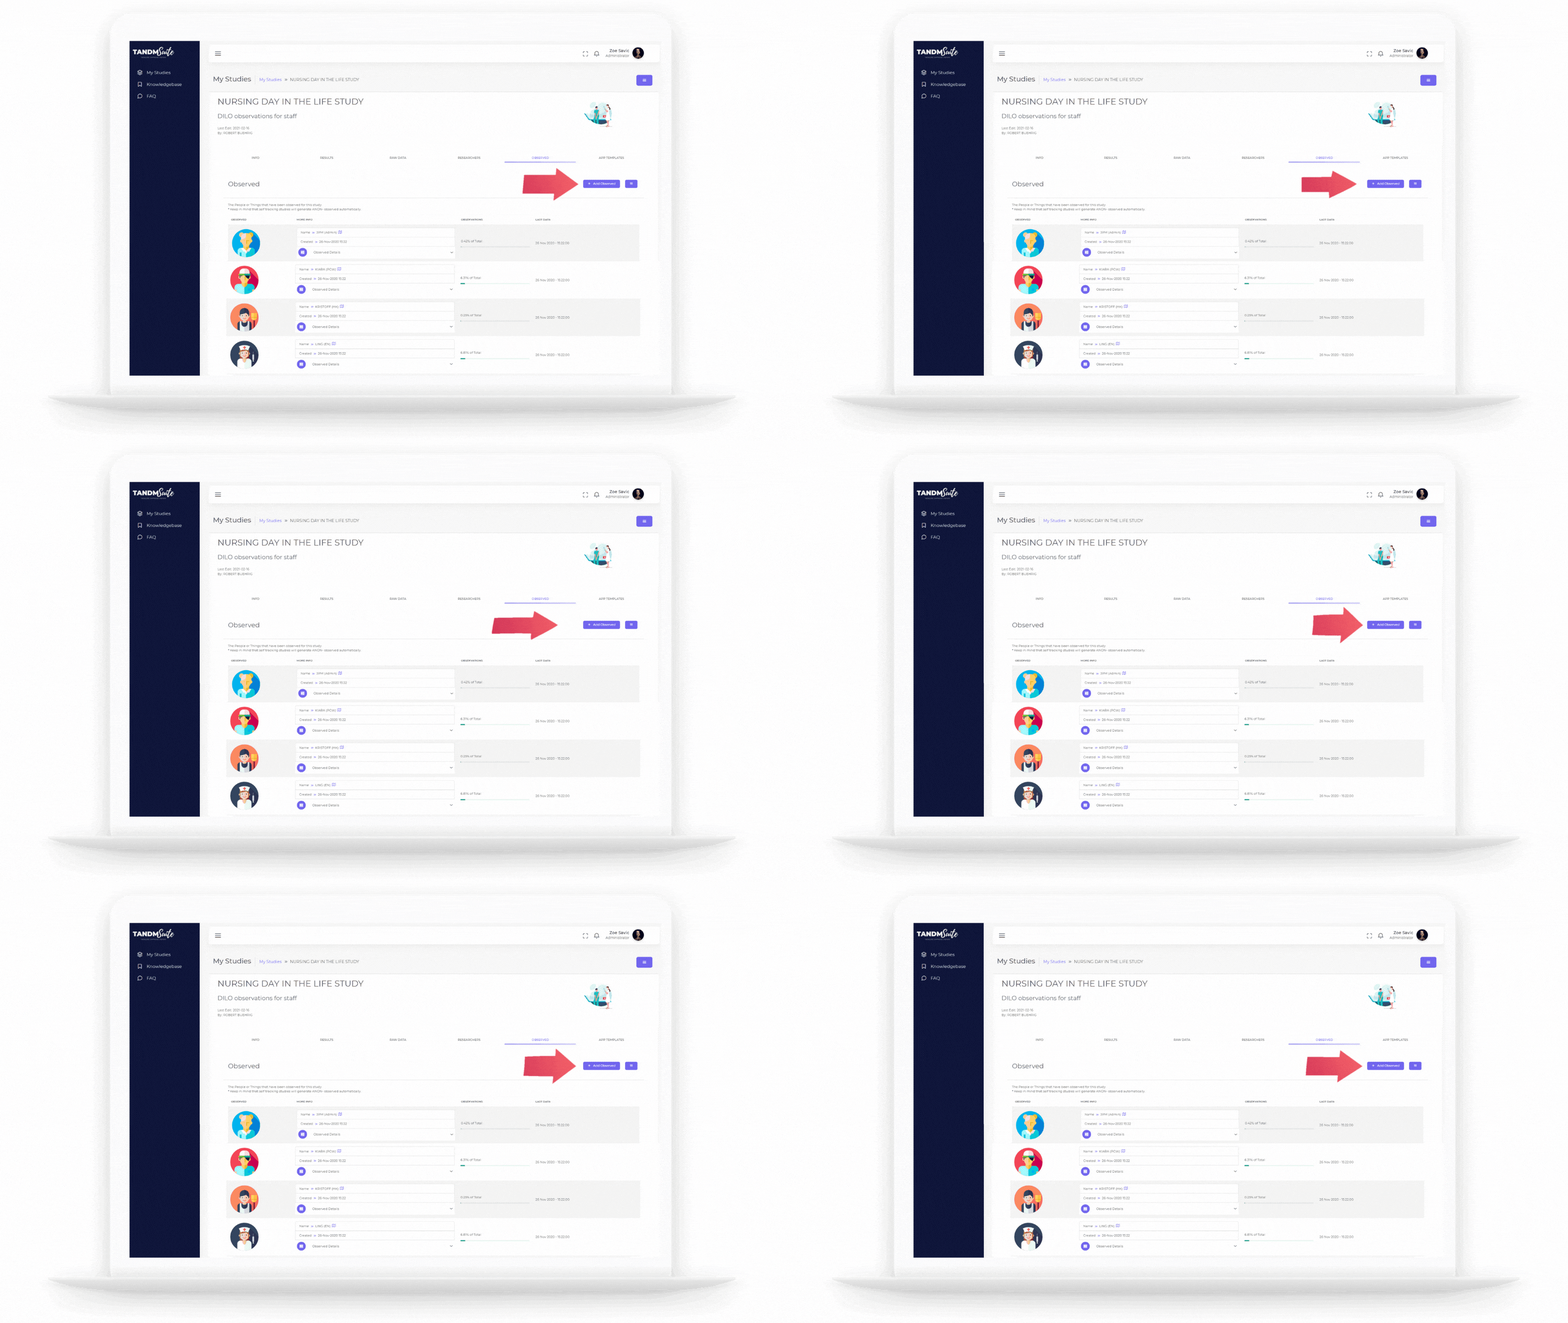
Add an Observed
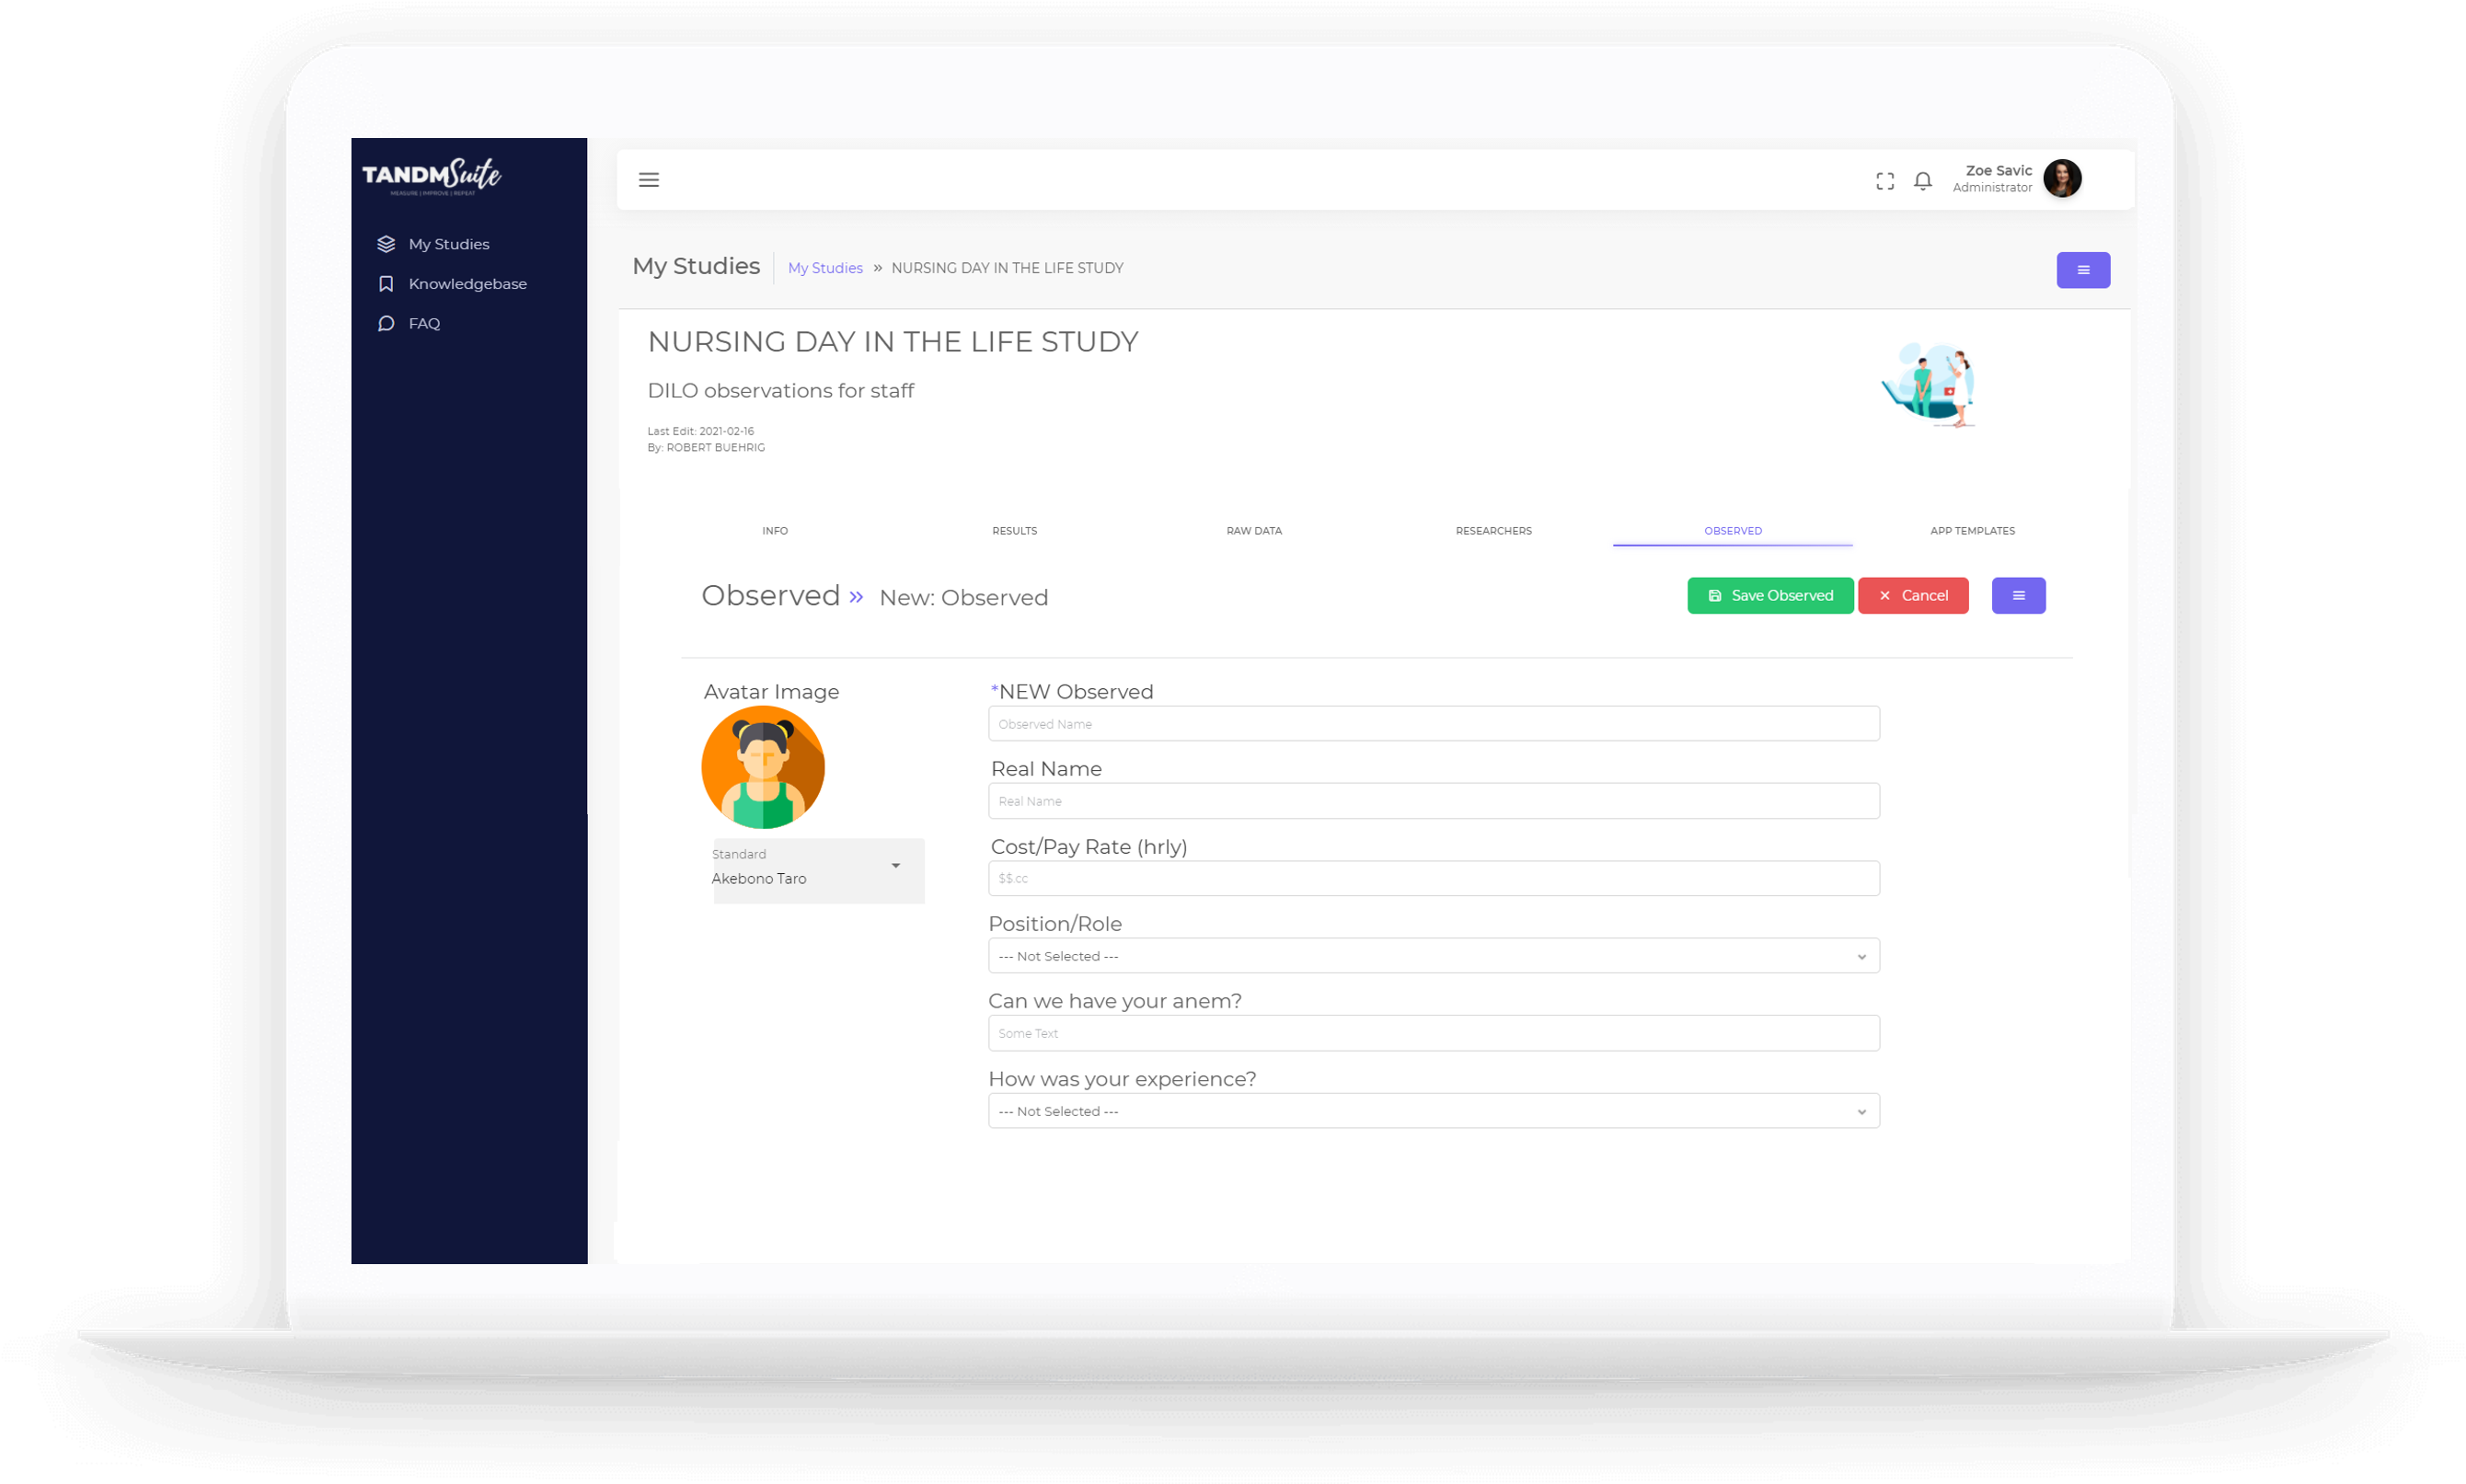
After clicking on the purple “Add Observed” button fill out,
– Use the drop down menu to select an Avatar Image
– The identifier you want this Observed known as in your graphs etc
– If their real name is different to the ‘Observed Name’ you can record it here without it being visable in graphs and dashboards
– The Observed’s Pay rate if known / applicable
If there are more fields after this, they will vary from Study to Study depending on what is included in your App Template. These fields are known as “Observed Details” and are used to further filter your Study results. They will usually include demographic questions like, role, gender, location etc.
– Click on “Save Observed” to complete and add to your Observed list.
– See Creating Studies to learn more about Observed Details

